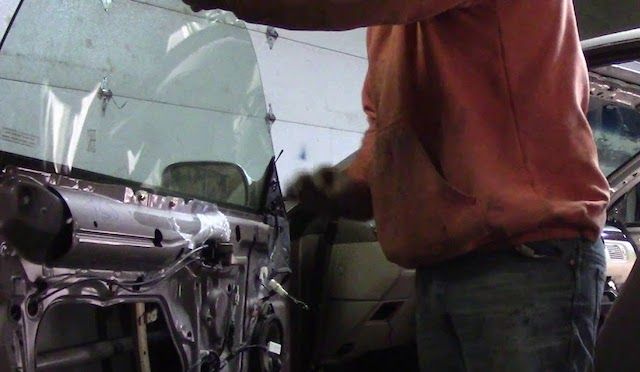
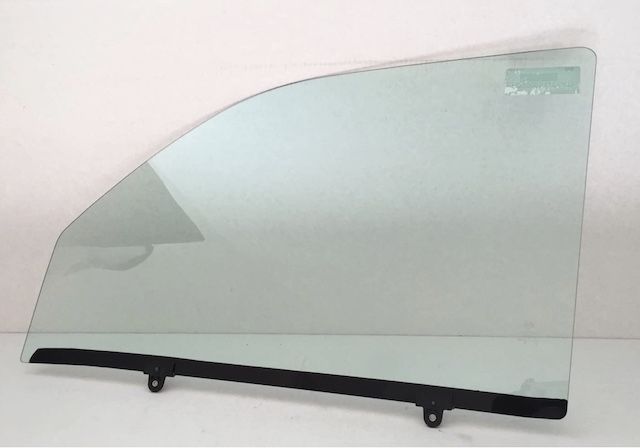
Having your car’s door window broken due to vandalism, theft, or accidental impacts can certainly be an unpleasant experience. It’s important to address this issue promptly to protect your vehicle from potential water damage and further security risks. While filing an insurance claim might seem like the safest route, repairing it yourself could save you money—especially if your deductible is high. If you're handy with basic automotive repairs, tackling this job yourself could also save time compared to scheduling an appointment at a glass or body shop. All you’ll need are a few simple tools and a couple of hours to complete the task. Toyota Parts Center provides same-day shipping for door window glass on many Toyota models. Image Credit: ZacksWorkshop Before starting the replacement process, make sure to use a shop vacuum to carefully remove any shards of broken glass from the interior of your car. Automotive windows are designed to shatter into small fragments for safety purposes, so there’s a good chance that some pieces might have fallen into hard-to-reach areas. Thoroughly vacuum every inch of the car to ensure no glass remains. We suggest looking up detailed instructions online tailored to your specific Toyota model. Although these steps apply generally to the Toyota Highlander, it’s worth noting that door trim panels are often secured with various types of fasteners, some of which may be hidden. Knowing the exact locations of all screws or clips for your model is crucial before proceeding with removal. In some cases, you may need to dismantle additional components like the side mirror trim cover, door handle and linkage, door lock switch, and window controls to gain access to the trim panel. Even after taking precautions, removing the trim panel can still require significant effort to disengage the retaining clips. A plastic trim tool might come in handy during this step. Despite the challenges, once you’re familiar with the procedure, the whole process typically takes around 10 minutes. Behind the trim panel, there’s usually a thin plastic vapor barrier that helps prevent moisture from entering the vehicle. This layer is attached with strong adhesive or tape and must be removed to access the window attachment mechanism. Start peeling it back gently from one corner to avoid tearing it. Using a flat plastic trim tool can help facilitate this process. You may need to detach the door speaker and reconnect the window switch to move the window regulator into a position where you can reach the window glass attachment bolts. Once accessible, remove the bolts from the window glass sash clips. Clear out any leftover fragments of glass from the window regulator and channels, then vacuum the inside of the door to remove any remaining debris. Leaving broken glass inside could lead to rust formation due to trapped moisture. In most cases, the new window glass comes equipped with pre-installed sash clips. For some vehicles, though, you may need to transfer the clips manually. Check the specifications for your particular vehicle to confirm what’s necessary. Gently tilt the new glass into the door window channels and slide it down until it locks onto the window regulator. Reattach the bolts to the sash clips without overtightening them. On certain models, you might need to remove the rear vertical guide channel to install the new glass. One fastener is often concealed beneath a trim seal near the top of the door above the channel, while the other becomes visible after removing the interior door trim panel. Before reassembling everything, test the window regulator to ensure the glass is properly aligned and operates smoothly. Reverse the order of removal to reinstall the door components. When putting the vapor barrier back in place, ensure it aligns correctly with the holes for door hardware and seals tightly. Double-check that all retaining clips are securely positioned on the back of the door trim panel before securing it to the door with all original fasteners and covers. When it comes to something as critical as window glass replacement, cutting corners isn’t an option. Always opt for OEM parts to guarantee proper fit, functionality, and visibility. At Olathe Toyota, we offer: Have more questions? Feel free to reach out—we’re here to help! Whether you’re a seasoned mechanic or a DIY enthusiast, replacing your Toyota’s window glass doesn’t have to be daunting. With the right guidance and tools, you can complete the job efficiently while saving both time and money. Remember, investing in quality parts ensures long-term reliability and peace of mind. Don’t hesitate to contact us if you need assistance or advice along the way! Nano Steam Jet Mill,Mineral Steam Jet Mill,Boehmite Steam Jet Mill,Lab Scale Steam Jet Mill Mianyang Liuneng Powder Equipment Co., Ltd , https://www.lnpepowder.comThe Tools You’ll Need
Replacing the Window Glass

Removing the Inside Door Trim Panel
Removing the Plastic Vapor Barrier
Removing the Old Window Glass
Installing the New Window Glass
Reinstalling the Door Trim Panel
Key Safety Tips
Trust Olathe Toyota Parts Center
