People who have been in contact with agriculture should all be aware that bacteria, fungi and viruses are the leading causes of crop diseases. These disease microorganisms can invade crops through roots, stems, leaves, fruits, etc. Most of the diseases are relatively easy to control in the early stage of infection. However, because they are not easily detected, once the diseases are spread, prevention and control are not only difficult but also have poor results, resulting in crop yield reduction. , and even no income. How to detect and prevent disease at the early stage of the disease is the most important issue for agricultural workers. Plant disease detection is a complex chemical and physical process. If traditional methods are used, the detection efficiency is very low, and it may not be able to accurately determine the type of disease. With more and more attention, the rapid diagnosis instrument for plant diseases has also been recognized by people. It can quickly analyze and determine the types of diseases in various crops, provide scientific basis for how to prevent and treat diseases, and provide medicine for growers. Great convenience. Precision Stamping,Customized Stamping Component,Customized Industrial Component,Customized Industrial Parts Shaoxing Fuli Import&Export Co.,Ltd , https://www.fulicurtainaccessories.com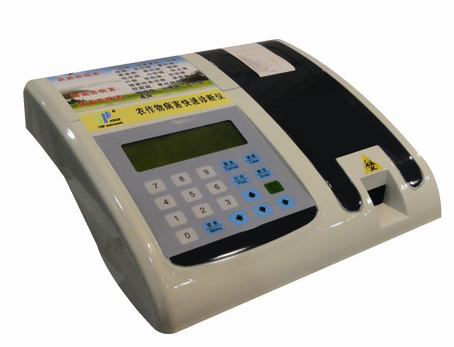
Looking at the above, there may be a friend who will ask: "The magical" instrument, the operation process must be very complicated, right? The actual situation is often the opposite. The more disciplined the instrument is, the more automated it is, and it also saves staff a lot of time. The plant disease rapid diagnosis instrument is no exception. Let's take a look at its basic operation procedure.
1. First of all, turn on the power, the instrument starts self-test, the detection slot is slowly removed, waiting for the test.
2. The roots, stems and leaves of the intercepted plants are cut into pieces and placed in plastic bowls. The quantity is about one-third to one-fifth of the volume of the plastic bowl.
3. Draw the same amount of the five indicator liquids with a dropper, and drip into a plastic bowl containing the plants. Stir well and let it stand for 2-3 minutes.
4. Rinse the pipette with clean water and draw a little mixture of indicator and plant debris. Spread evenly onto the indicator bar and place the indicator strip in the test slot with the color bar facing upward.
5. Press the “test†button gently. After hearing a beep, the tester starts testing. The test slot and indicator bar slowly move to the instrument. Then the instrument will automatically print the test result.